Főoldal
Tervező naptár
Tipizált SzaunaSzeánszok®
SZAUNAKULTÚRA
Archívum
Szauna Szeánsz® Oscar - Archívum
FOTÓALBUM
Kapcsolat
Oldaltérkép
Feliratozás hírlevélre
Igényfelmérő kérdőív
AJÁNLATKÉRÉS szaunaszeánsz® szolgáltatásra
›
‹
1
2
Tervező naptár
Szaunaszeánszok®
Rendezvények
Webshop
Szaunamester képzés
Szaunaszeánsz® védjegy
Főoldal
TERVEZŐ NAPTÁR
TIPIZÁLT SzaunaSzeánszok®
SZAUNASZEÁNSZOK®
AQUAWORLD szaunaszeánszok®
SUN PALACE szaunaszeánszok®
V8 szaunaszeánszok®
Rendezvények
WEBSHOP
Szaunamester KÉPZÉS
Szaunakultúra
A szaunakultúráról
Szaunaetikett
Helyes szaunázás
Szaunázási típusok kombinálása
Érdemes tudni
Ártalmatlan mellékhatások
Mi történik a szeánszok alatt?
Szeánszaink rövid ismertetői
Archívum
Fotóalbum
Szauna Szeánsz® Oscar - Archívum
Szaunaszeánsz® védjegy
Kapcsolat
Oldaltérkép
Feliratozás hírlevélre
Igényfelmérő kérdőív
SzaunaSzeánsz®
FOTÓALBUM a versenyekről
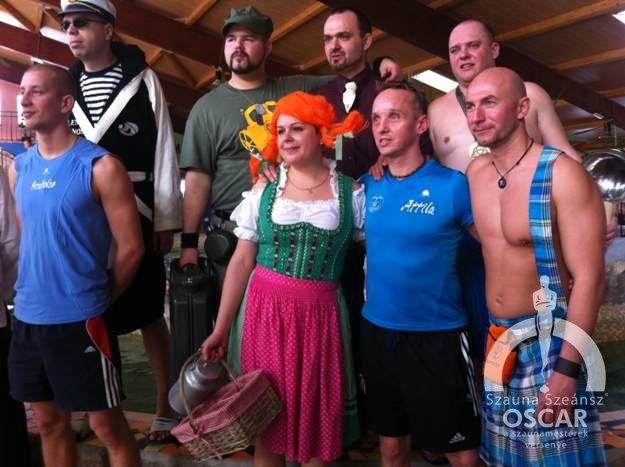
4. SzaunaSzeansz® oscar középdöntő, Magyarhertelend 2014.
FOTÓALBUMOK - 4. SzaunaSzeansz® oscar középdöntő, Magyarhertelend 2014.
photo_5
Sorrend
Rendezés: Növekvő
Rendezés: Csökkenő
Cím szerint növekvő
Cím szerint csökkenő
Dátum szerint növekvő
Dátum szerint csökkenő
Értékelések száma szerint növekvő
Értékelések száma szerint csökkenő
Értékelés szerint növekvő
Értékelés szerint csökkenő
Megtekintések szerint növekvő
Megtekintések szerint csökkenő
Képek száma
5
10
15
20
50
Mind
3. oldal / 3
Első
«
1
2
3
Powered by
Phoca Gallery
Hírlevél
Partnerünk
Facebook